
From a PDF to a QR code digital menu: the FriesGuys example
How to turn a PDF menu into a digital menu with a QR code: upload the file, review the products, add your own photos and test the result on your phone.
Sebastian Navarrete
Founder, Engagebot
· 4 min read
FriesGuys already had its menu as a PDF. The file was a good starting point, but a menu people scan at the table needs more: dishes that are easy to browse on a phone, prices you can fix without redesigning the PDF, and a stable link to print behind the QR code.
We used that demo menu to show the process. Here you can open the published FriesGuys menu (it is in Spanish, like the restaurant). The screens show how the menu is uploaded and reviewed in Engagebot; they are not a promise that any PDF converts without corrections.
Before you upload the file
Have the version of your menu you want to start from at hand. It can be a PDF or a clear photo. If you have an old version with different prices, check them before publishing: the tool reads what it receives, it doesn't know what you charge at the register today.
Also decide which dishes are available and get your own photos ready if you want to show them. Importing the menu does not extract the product photos automatically; you choose them during the review or when you edit the dishes later. You don't need them ready to review the menu data.
Where to find the option
If you don't have an account yet, create one and, if you sign up with email, verify it to log in. In the initial setup, say your business is a restaurant.
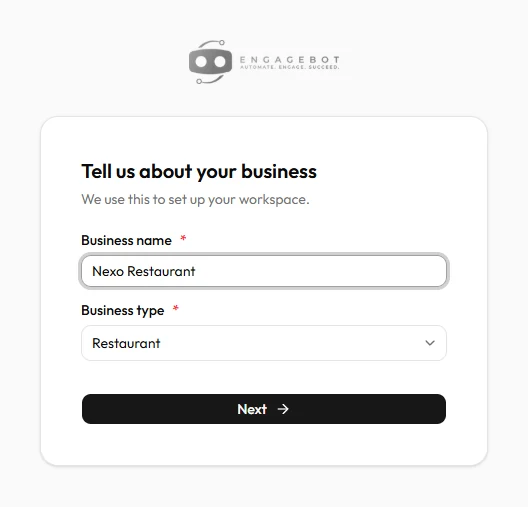
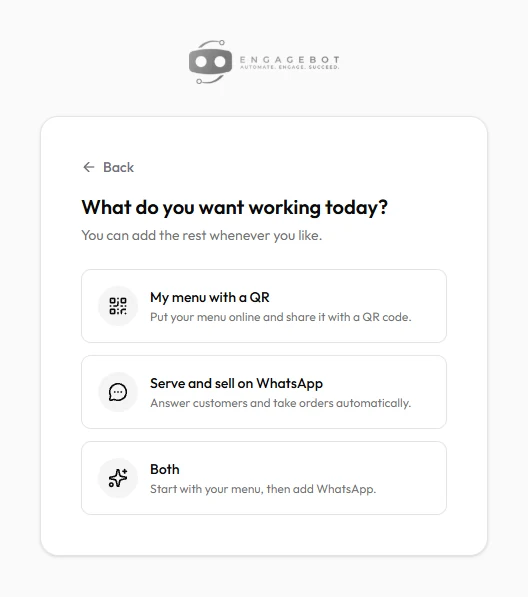
If you're asked what you want to set up, choose “My menu with a QR”; when you arrive from the Digital Menu page, that choice may already be selected.
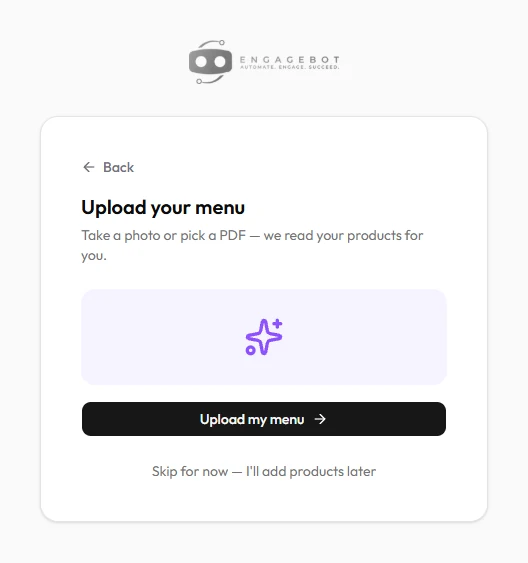
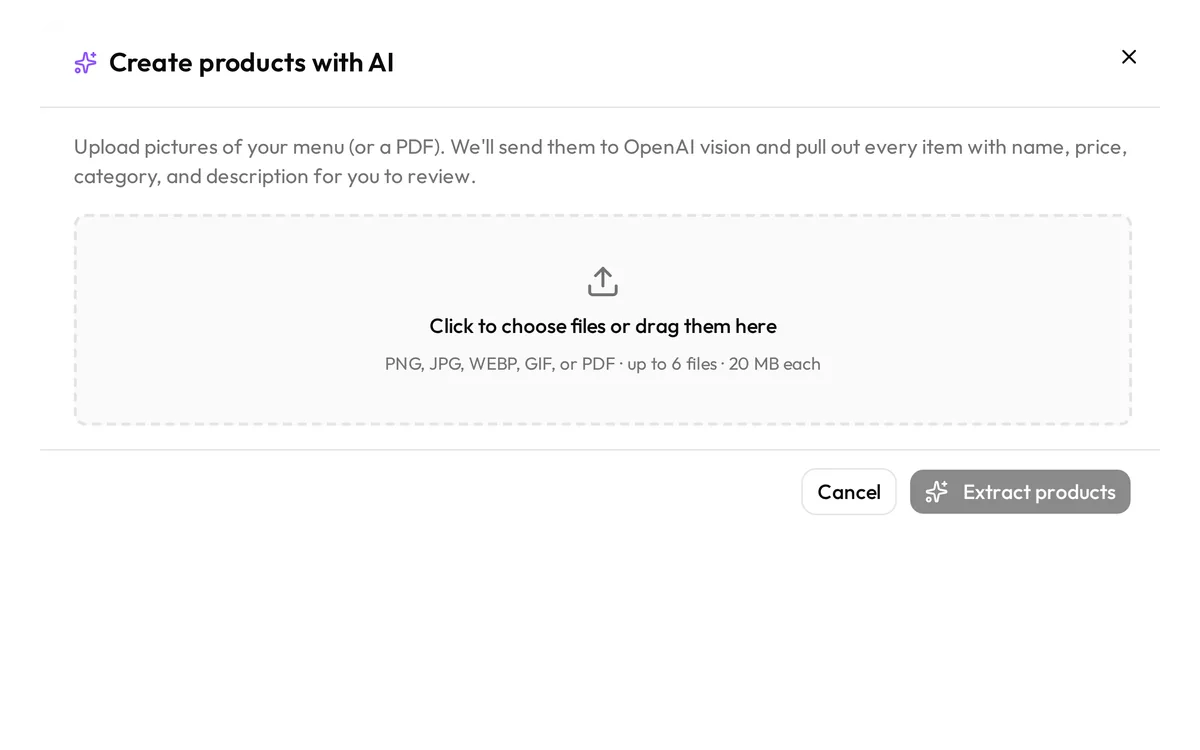
While there are no products yet, you'll see the “Upload your menu” step: click “Upload my menu” to choose the PDF or photos of your menu.
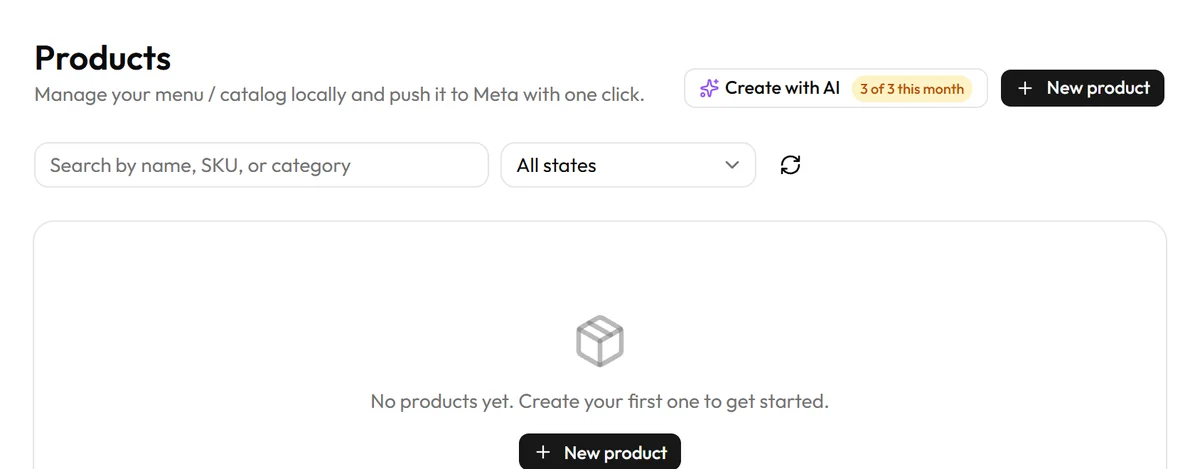
Already have an account, or skipped that step? Go to Products and click “Create with AI”. That opens the menu upload, which extracts suggestions for you to review before the products are created. If you've used up the extractions included in your plan, the app will tell you.
For other types of business, the first step may be called “Upload your catalog”. Here we follow a restaurant's path; you don't need to connect a Meta catalog to upload and review your menu.
1. Upload your menu
In the menu upload, you pick the images or the PDF of your menu. The tool reads the file and suggests products with name, description and price so you can review them. You can also add dishes by hand if you'd rather start without a file.
2. Review what the AI found
In the FriesGuys demo, the screen showed 13 items detected. That number describes this example; it is not a guaranteed result for other menus. Each product appears as a candidate: you can check its name, description, price, category and availability, or remove it before it is created.
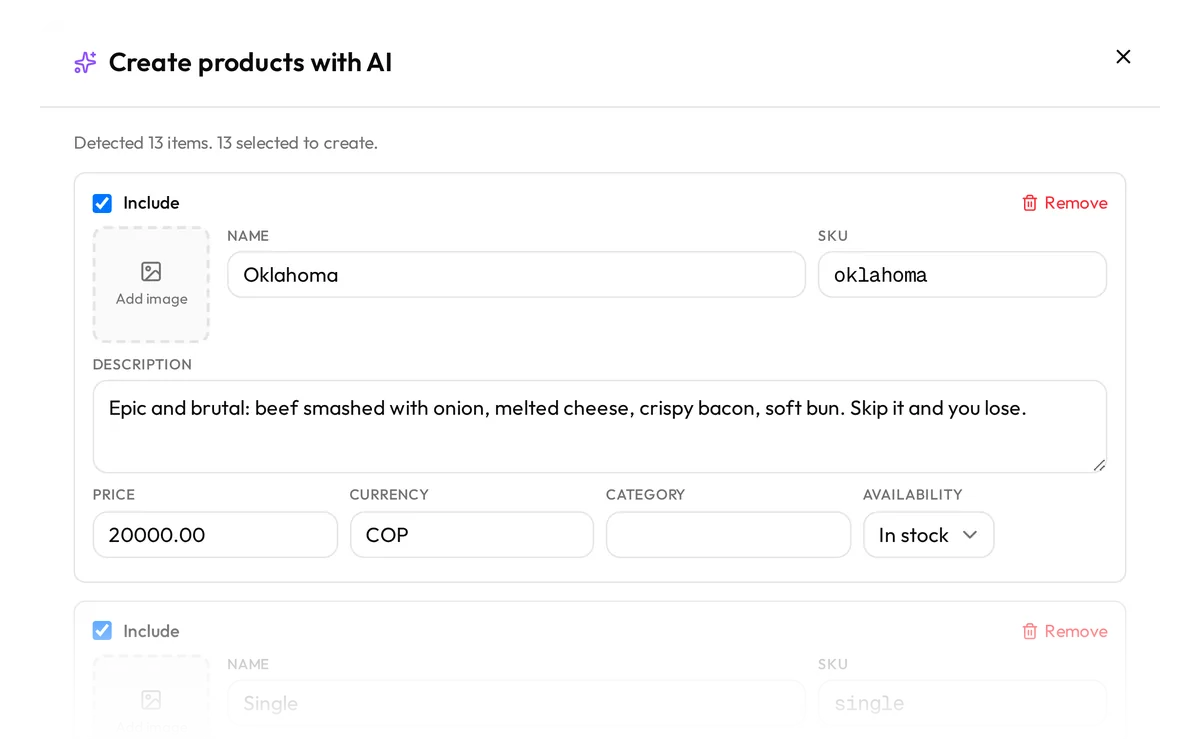
Before you click “Create”, check each price against your current menu, fix descriptions that don't read well and review each dish's category. If a line of the PDF was read wrong, it's better to fix it now than to find out when a customer scans the QR code.
3. Add photos and publish
Product photos are added by hand, while you review the candidates or when you edit the dishes later. In the demo menu you can see how they look next to the dishes, but that part took manual work. AI helps create the product entries from the file; it doesn't replace choosing the images or the restaurant's final review.
When the menu is right, publish it and open its link on your own phone. Test the QR code the way a customer would at a table: are the names easy to read? Do the prices match? Does the dish you just added show up? You can browse the FriesGuys menu as a reference.
If you later change a dish or a price, edit the digital menu. The QR code keeps pointing to the menu's address, so you don't have to redesign the PDF or print a new code for every correction.
What if I also want table ordering?
They are two different things. The QR Digital Menu shows your menu; Menu + Table Ordering adds the flow for customers to send an order from their table. If you only want to replace the PDF with a menu people can browse, start with the digital menu and decide later whether you need ordering.
Create your QR code digital menu
Upload your PDF, review the products and share the link. When you want to take orders from the table, switch on Menu + Table Ordering.
See the QR Digital Menu and its options